Eureka Kitchen Remodeling Project
It was so much fun transforming this Eureka kitchen remodel into a more functional and beautiful part of the main living area.


This kitchen remodeling project took place in Eureka, MO, a small town primarily located in St. Louis County. However, this particular home was situated in Jefferson County, MO, so we filed the necessary permits through Jefferson County. The kitchen, originally built in 1995, had seen few updates over the years. The only notable change was the addition of a new tile floor, which the customer hoped to preserve.
Aside from the tile floor, everything else was scheduled for removal as we planned to start fresh. The existing kitchen cabinets were 42″ high, thermofoil-wrapped, with an arched raised panel design and standard overlay. The countertops, made of granite, felt heavy due to their dark color, and the customer wanted something lighter with more visible movement.
The kitchen lighting was insufficient, relying on a central fluorescent light fixture and a few ceiling-mounted incandescent lights. To address this issue, we planned to enhance the lighting throughout the space. Additionally, the kitchen appliances and the sliding patio door were slated for replacement. At the customer’s request, we included a new vinyl door as part of the project.
The customer had two main complaints about their current kitchen layout. First, there was a lack of counter space. Second, the peninsula design restricted traffic flow in and out of the work area, creating wasted space in the floor plan. To solve this, our 4P Remodeling Process focused on integrating an island and creating more functional space by relocating the refrigerator.
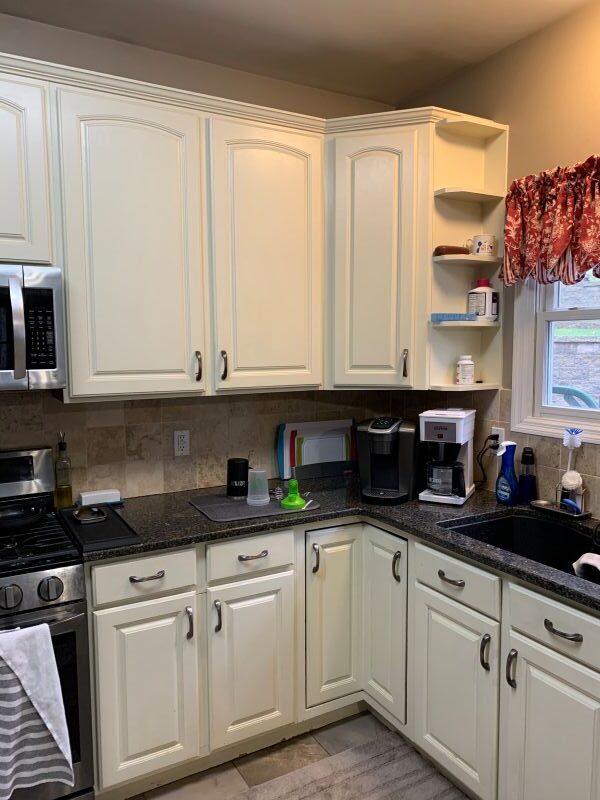
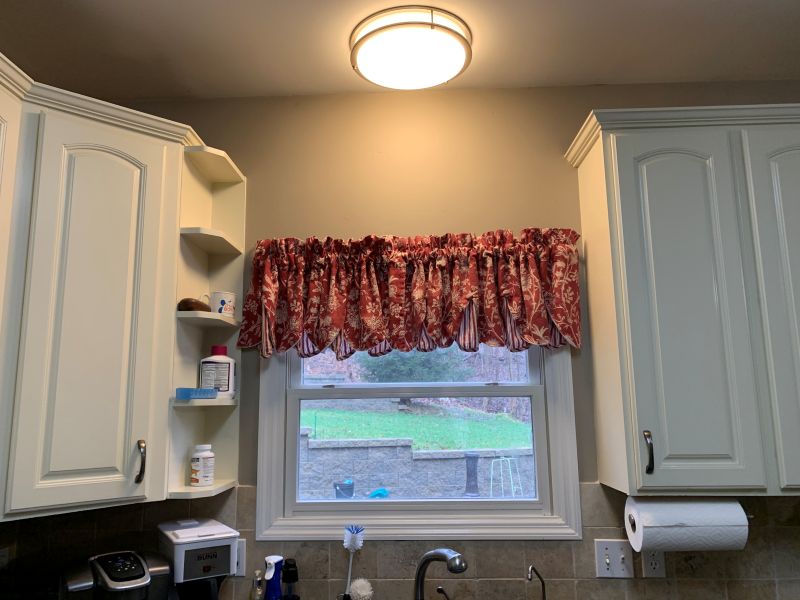
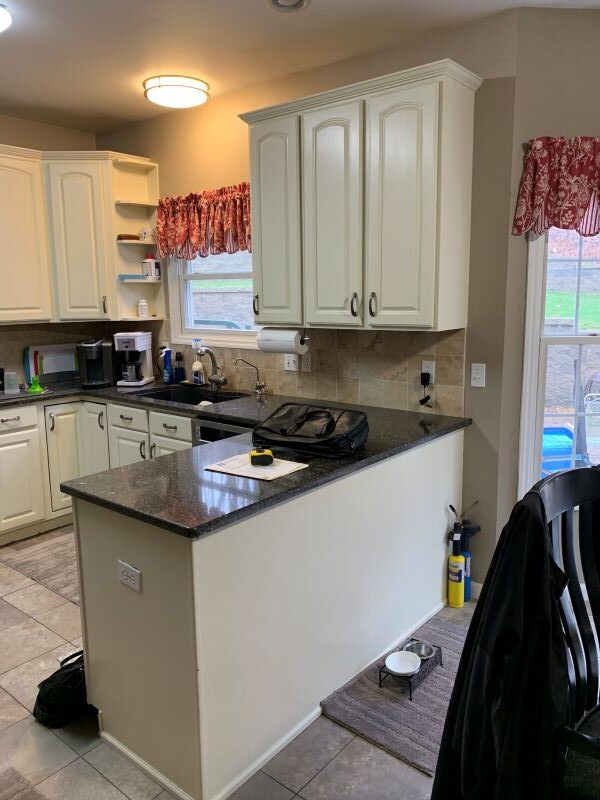
Existing Eureka Kitchen Before Remodel
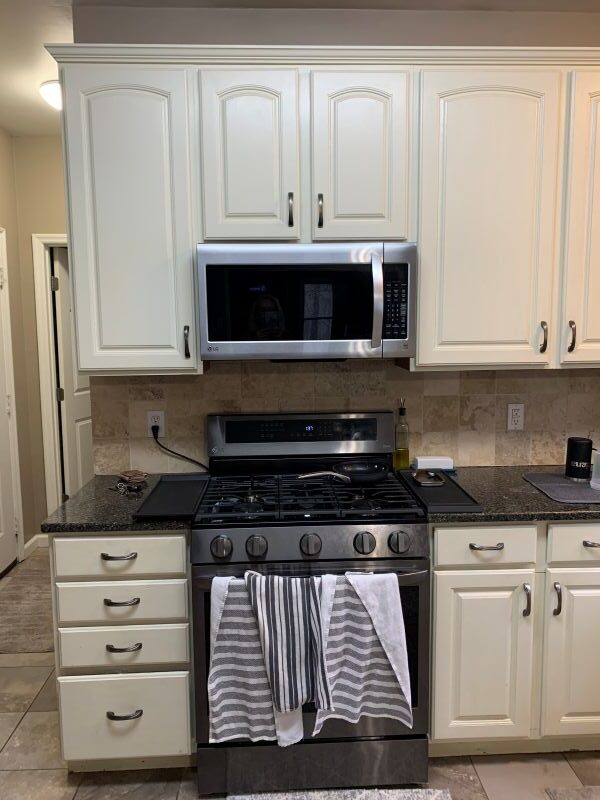
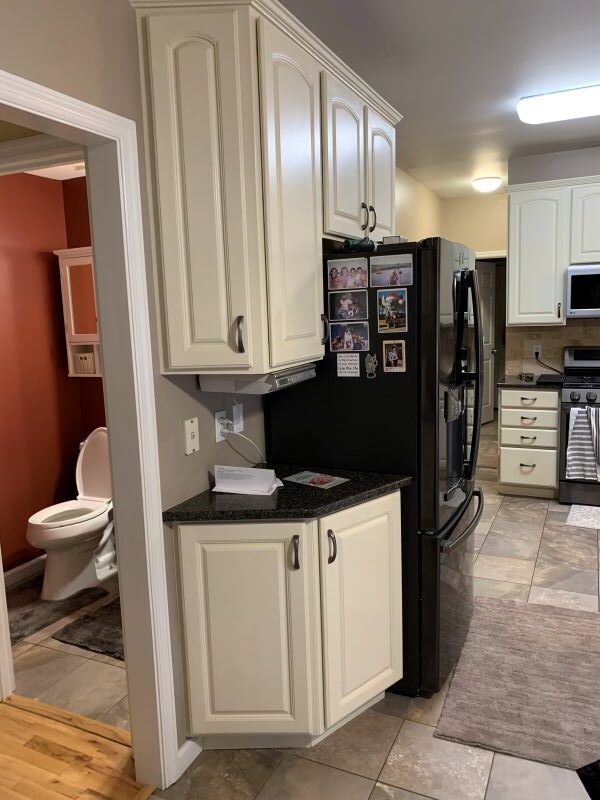
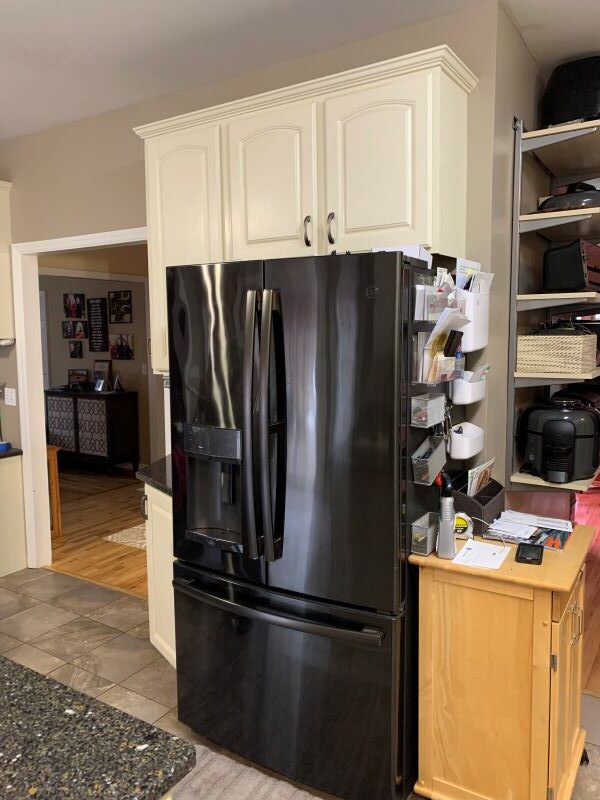
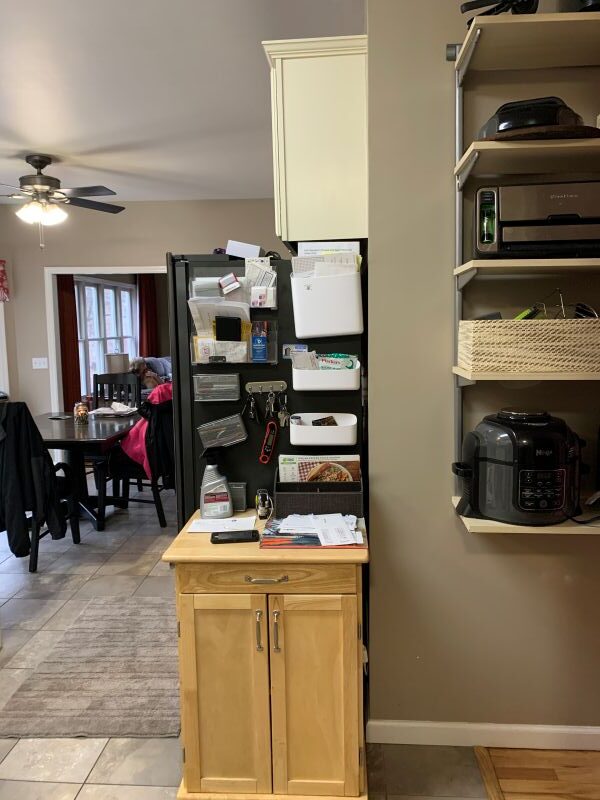
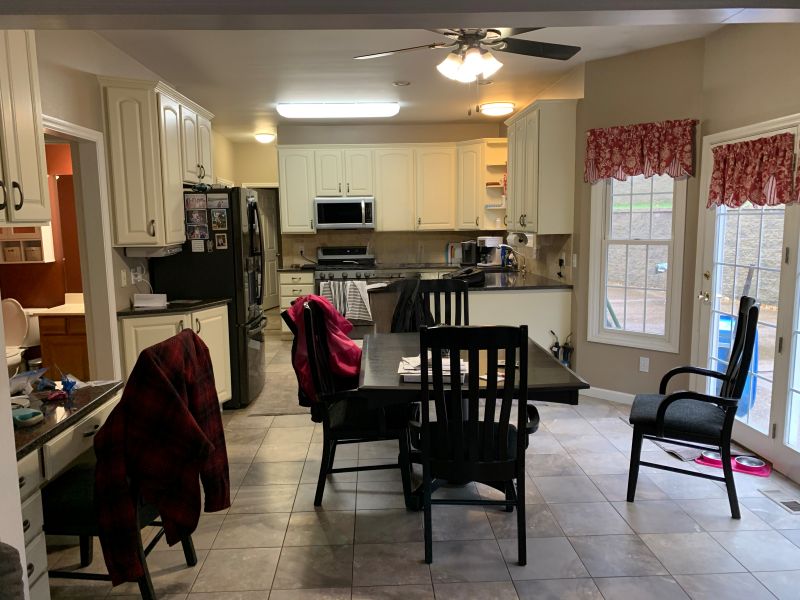

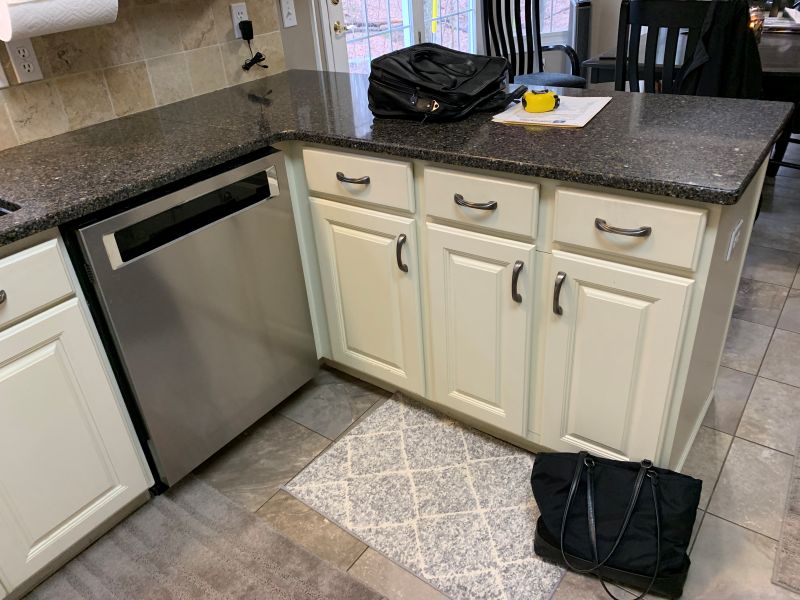
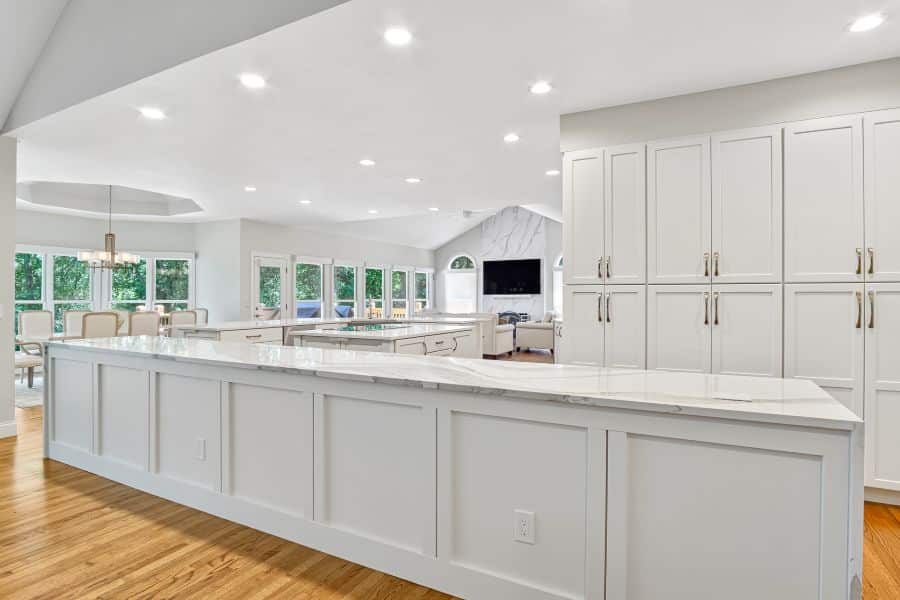
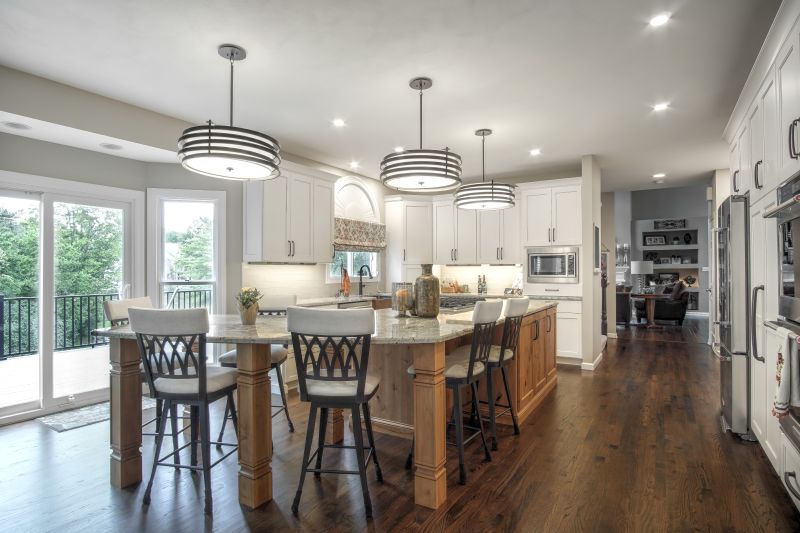
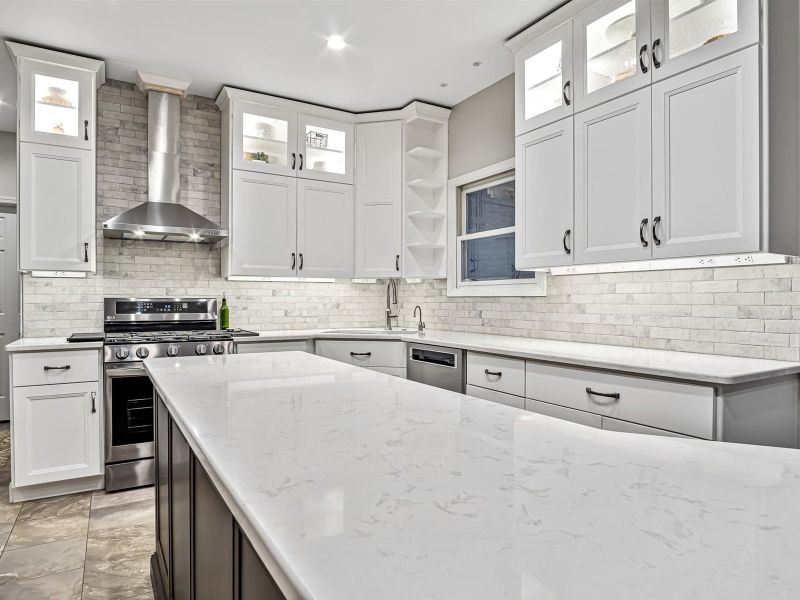
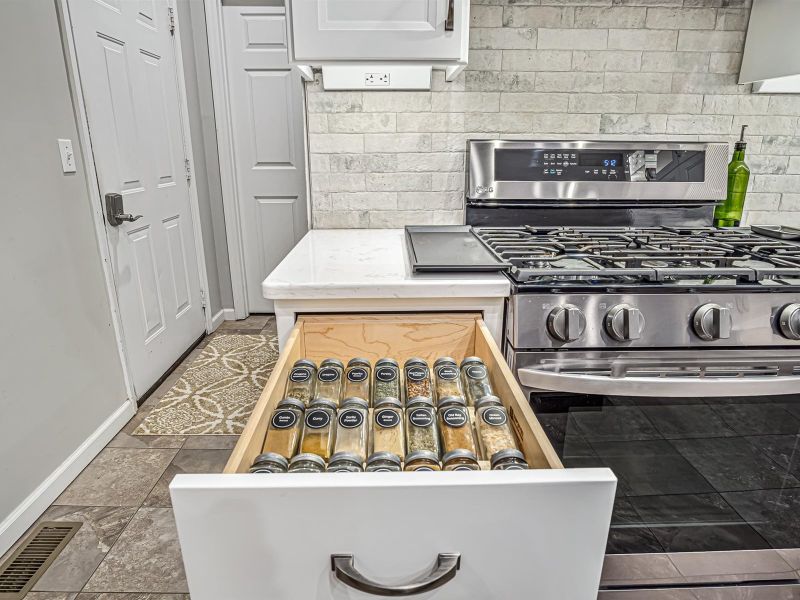
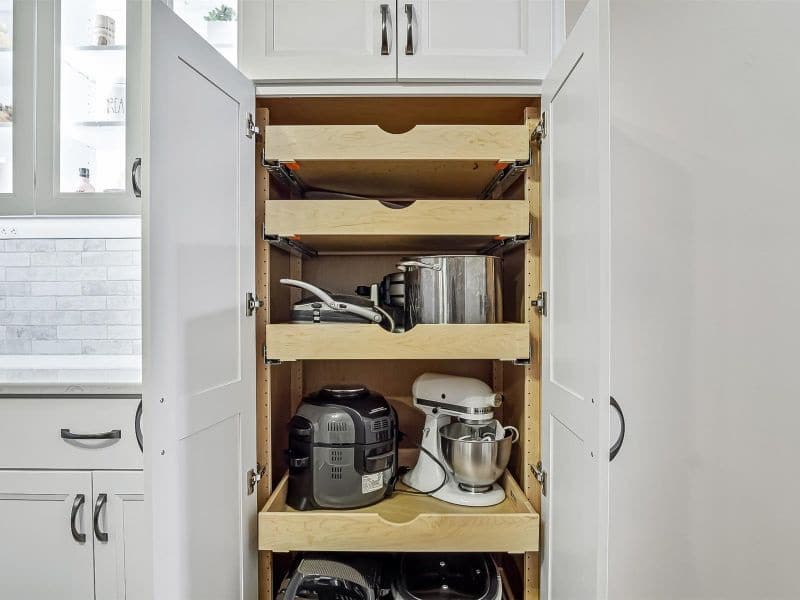
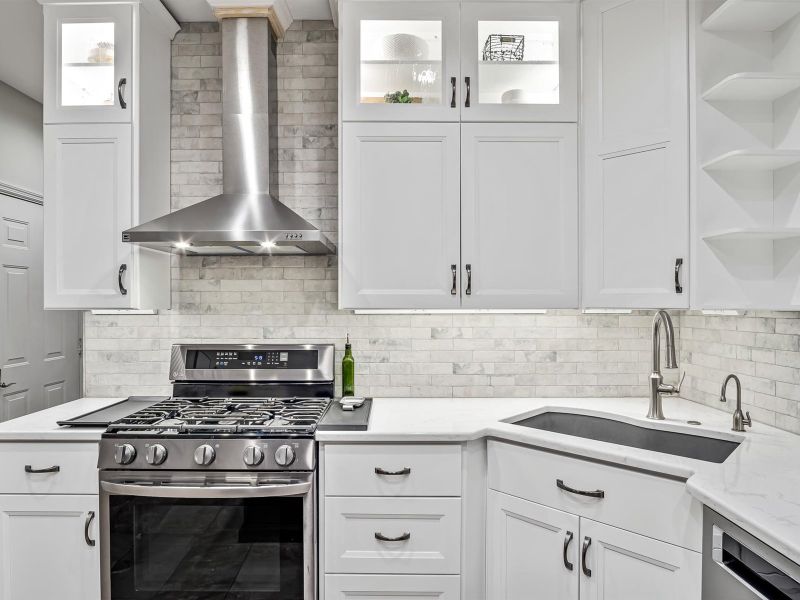
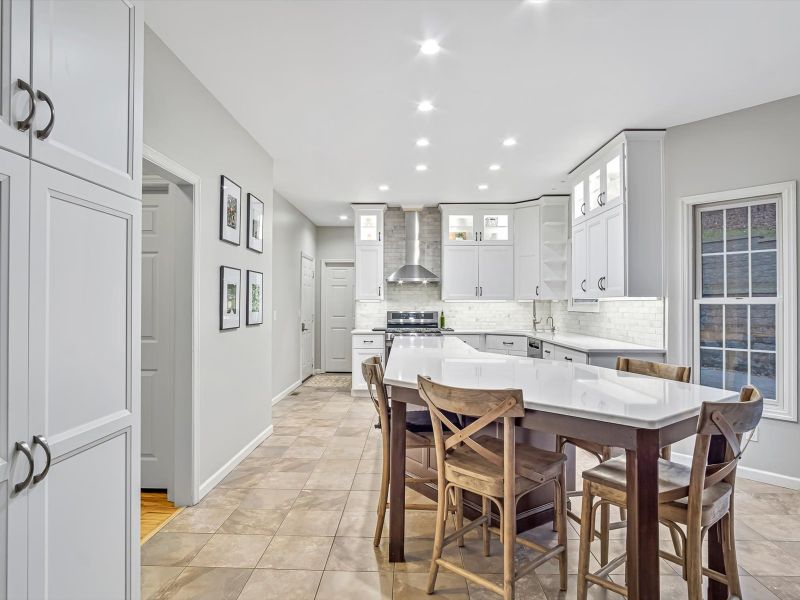
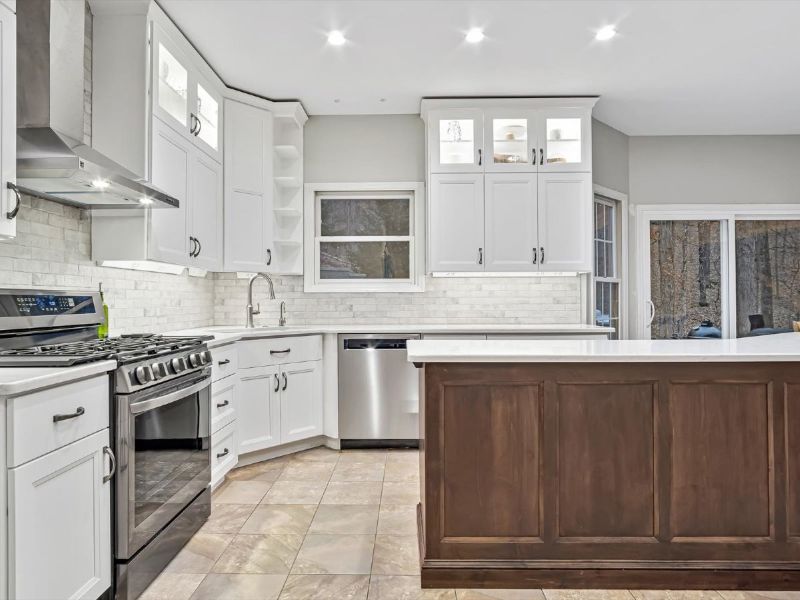
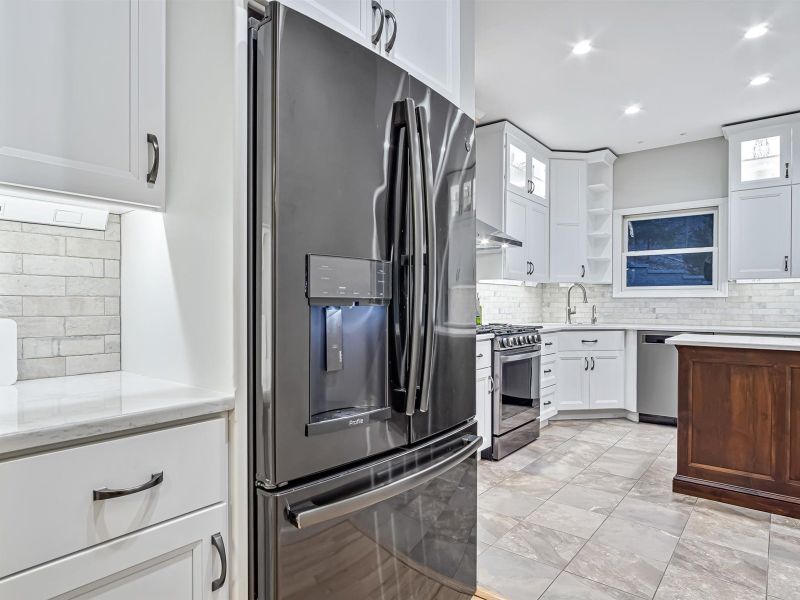
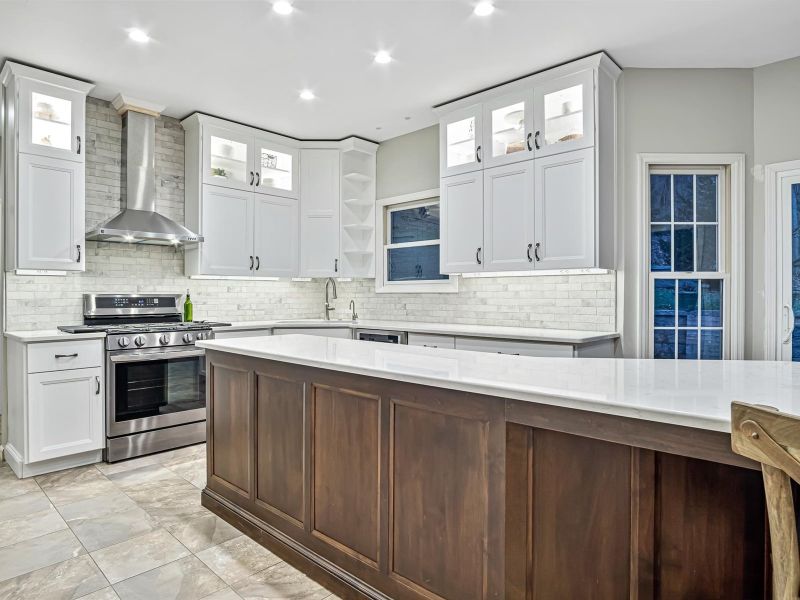
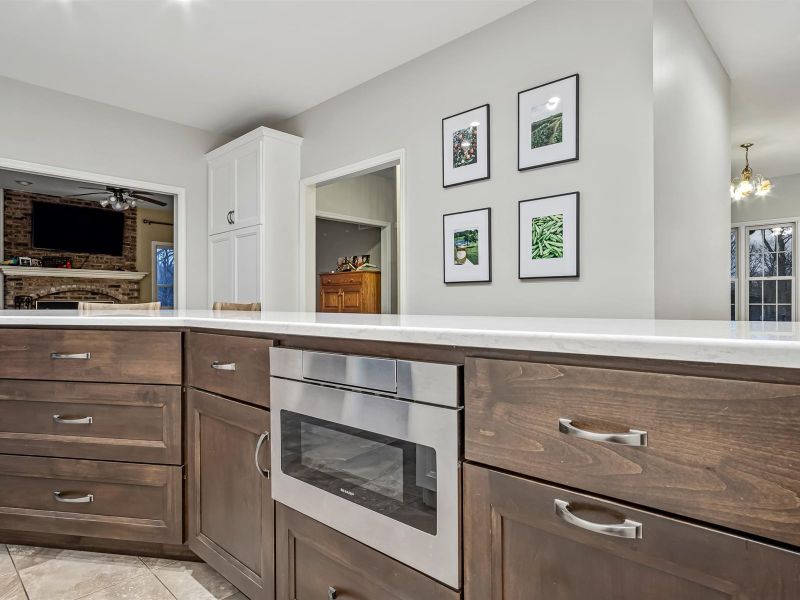
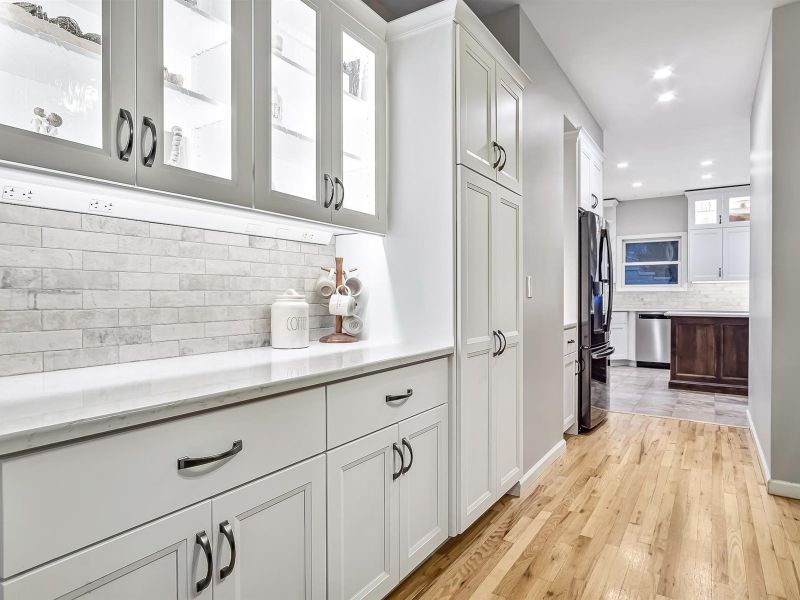
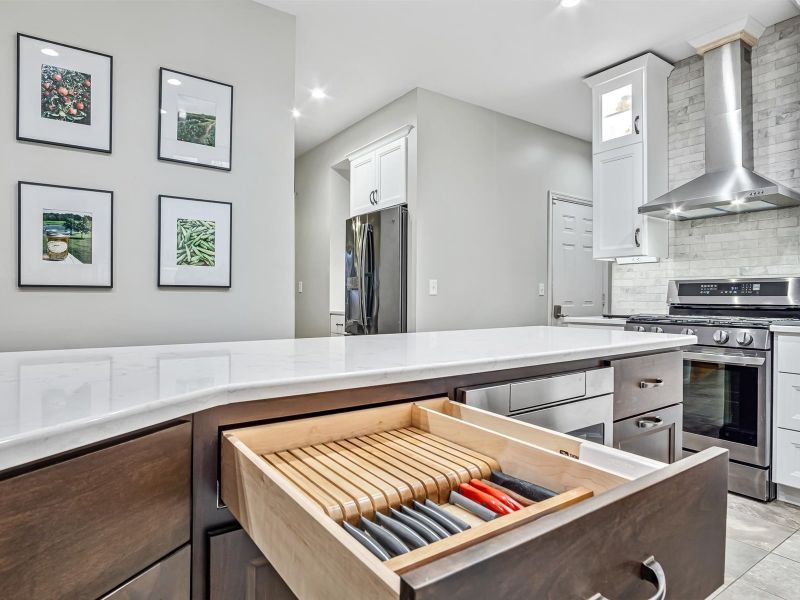
Completed Eureka Kitchen Remodel

Ready to Get Started on Your Remodeling Project?
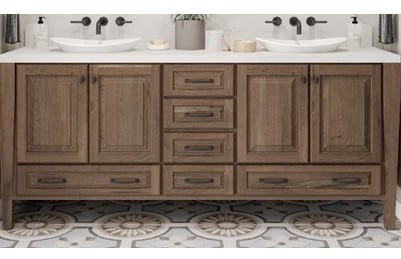
Proposed Eureka Kitchen Design Ideas
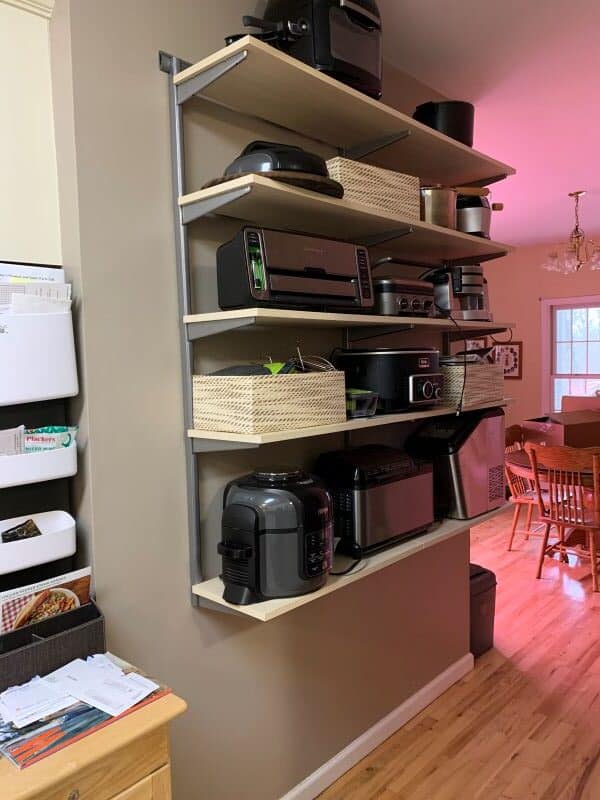
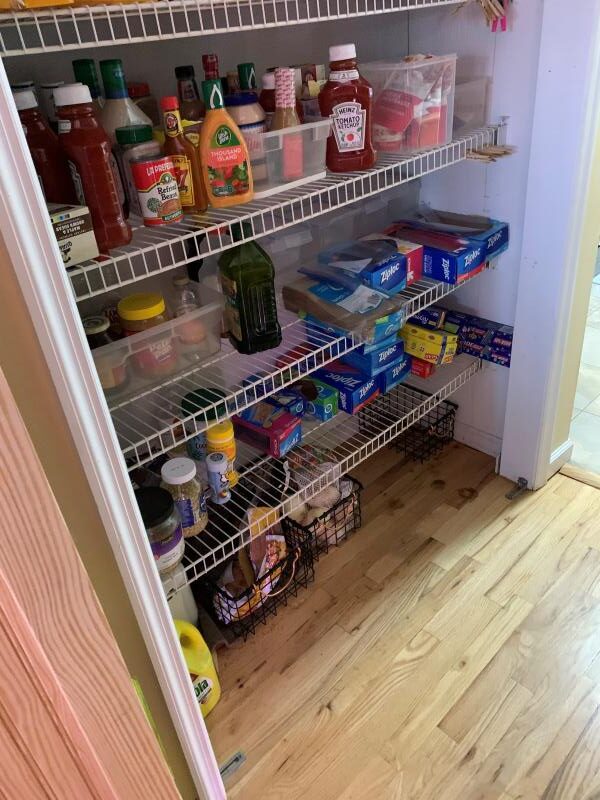
The first step in designing this Eureka kitchen remodel was the PerfectPlan phase. It began with a site visit from members of the Thompson Price Design Team. During this stage, our main priority was to gather complete and accurate dimensions of the kitchen and the surrounding areas. This was particularly important for this project since we were considering reconfiguring the pantry in the adjacent hallway and adding cabinetry in that space as well.
While on-site, we took numerous photos to ensure we could accurately recreate the existing kitchen design on paper. This allowed us to effectively redesign the space, ensuring every utility and wall location was documented for future reference.
We also addressed key questions during this phase. How will we relocate the electrical, plumbing, and mechanical systems to accommodate the new kitchen layout? What does the exterior of the home look like at the back? Are the areas above and below the kitchen accessible? Answering these questions early on helps guarantee a smooth and successful project once construction begins. We always emphasize that “project management starts at the design phase,” and PerfectPlan ensures every Thompson Price project begins on the right foot.
Kitchen Design Plan A
Our first design, Plan A, focused on reframing the walls of the pantry to create more physical space in the kitchen area by reducing storage space in the pantry and integrating a desk/work area at the customer’s request. We also set the refrigerator back further to allow a larger walkway around the kitchen island.
In this kitchen design, we took the cabinets up to the ceiling at 108″ overall height but stayed with single doors instead of stacked doors to help keep costs down. The island in this configuration increased in size as well because…well, I mean, who doesn’t want a larger island? We also showed a professional style 36″ dual-fuel range with a wall mounted hood as a focal point for the space.
Kitchen Design Plan B
Plan B, our second kitchen design option for this space, removed all of the pantry area and the closet near the garage entry into the space. By doing this, we relocated the entry into the kitchen to get a much larger kitchen and to turn the island to fit the full width of the space. We also showed a large wood decorative hood sized for the proper ventilation for a 48″ range. This design shows stacked wall cabinets going up to the ceiling. No question, this plan was the more premium option out of the two starting designs.
Eureka Kitchen Design Revisions and Product Specifications
Every customer is different and some make design decisions faster than others. This project went through 4 or 5 revisions before getting to the version we specified and priced. Once we have the design complete, that’s when we move into Perfect Products. Our design team will specify products based on design considerations, budget considerations, style-preferences. The goal is to essentially give every customer multiple price points for each project. It’s like getting multiple bids but each price is based on the same design so we’re comparing apples to apples. Once specifications are completed, we move into Perfect Price which is the obviously the pricing stage of the kitchen remodeling project.
Eureka Kitchen Remodel: Pricing and product alternatives
So, here’s the part everyone dreads…the pricing. Now, with every kitchen or bathroom remodeling project, budget is one of the first things we discuss and we do everything we can to come up with a realistic budget. However, it’s not uncommon for the design phase and the product specification phase to grow in one way or another. Maybe the physical size of the space grows. Maybe the customer decides they want to go with that $30,000 appliance package. Either way, it’s not uncommon for our first round of pricing to be higher than we originally discussed. Regardless, our goal at Thompson Price is to always provide at least two complete prices for each kitchen or bathroom design we create.
Sometimes this is achieved by using different products entirely. Sometimes this is achieved by scaling back on certain items to save on cost and sometimes this is achieved by going back and modifying the actual kitchen or bathroom plan to get where we need to be price-wise. Our goal is to value engineer every kitchen or bathroom remodel for every client we work with.
Eureka Kitchen Construction & Remodeling Phase
Once the design, pricing and scope are agreed upon, Perfect Project begins. Perfect Project is our all encompassing term for everything from ordering, scheduling, delivering and installing each project. Thompson Price comes out to confirm all of the dimensions and site conditions. We totally agree with the measure twice cut once philosophy. All orders are written and submitted and all of the timelines are arranged with our installers and vendor partners.
This project features our custom cabinet line so shop drawings were created so everyone was on the same page with how the cabinets and related items would be built and installed. Permits are also filed with St Louis County and any other municipalities required for each project.
How Long Did This Eureka Kitchen Remodel Take?
Demolition and removals for this kitchen remodel began in mid-September. Framing the kitchen walls, roughing in the electric, plumbing, mechanical and passing inspections took the first two weeks. The next few weeks were drywall hanging and taping followed by modification to the floor. Since the customer was using their existing flooring, the project required floor patching.
Week five and six was installation of the new kitchen cabinetry. A kitchen countertop template was scheduled for late the sixth week. Turnaround for this kitchen counter was three weeks from template and the new quartz countertops were installed in the tenth week.
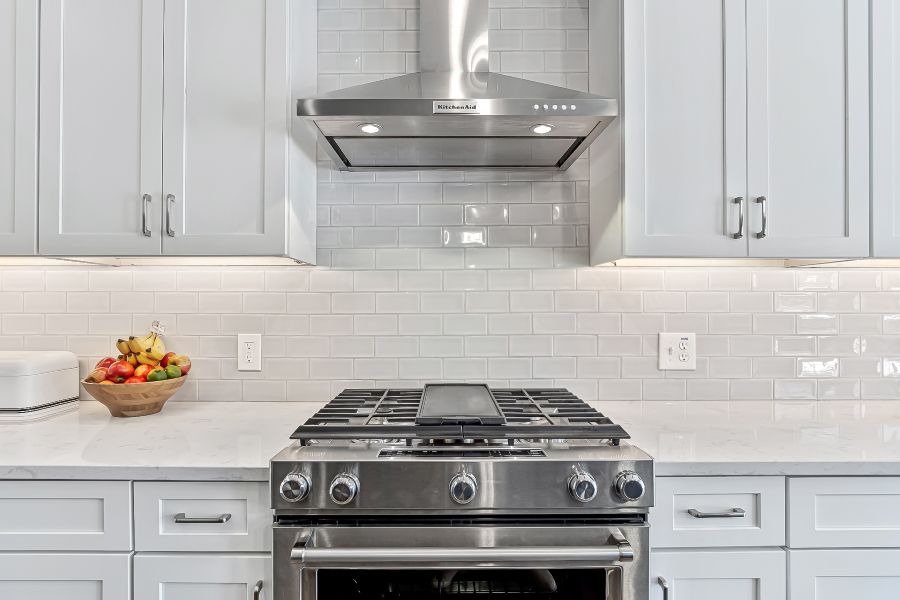
Week 11 and 12 consisted of the kitchen tile backsplash installation. We also installed the new plumbing fixtures, appliances and electrical items like under-cabinet and recessed lighting. Painting the kitchen took place at this time as well.
Week 13 was final clean up, trash haul, final inspections and final walkthrough where we double to check to make sure everything looks and functions as it should.